Showing posts with label Projects. Show all posts

Saturday, May 28, 2022

Eye Candy.....

Hello sweet blogging friends,

Life goes on as they say...........since the loss of my husband..........I'm still in a sort of fog............... I do try to keep busy, and continue to enjoy my papercrafting, as it takes me out of reality for awhile.


I don't have alot to say right now... I'm not being very social lately, and I'm becoming quite the hermit. I love my little house.... it is such a haven for me..... and I get little (tiny) spurts of energy to do a little changing up or adding other colors, etc. And then that little bit of energy goes away for awhile, and I go back to my craft room.
New quilt and pillow shams.. I love the soothing aqua blue.

Here is some eye candy for you to enjoy. Lots of fun little things I've made... lots of color, pastels which I love.... simple things.... but each one is a little work of art.... and brings me some joy in making it.

I'm sure with time, I'll become chatty again.........


Tiny photo album for my son and his fiance.


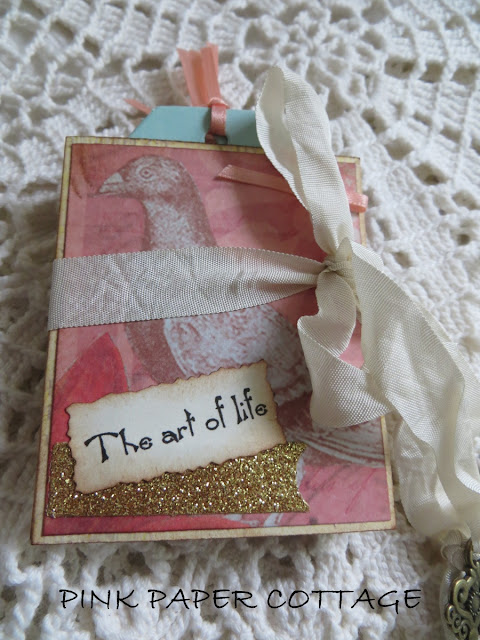
Folio to hold photos and tags. I LOVE this paper!


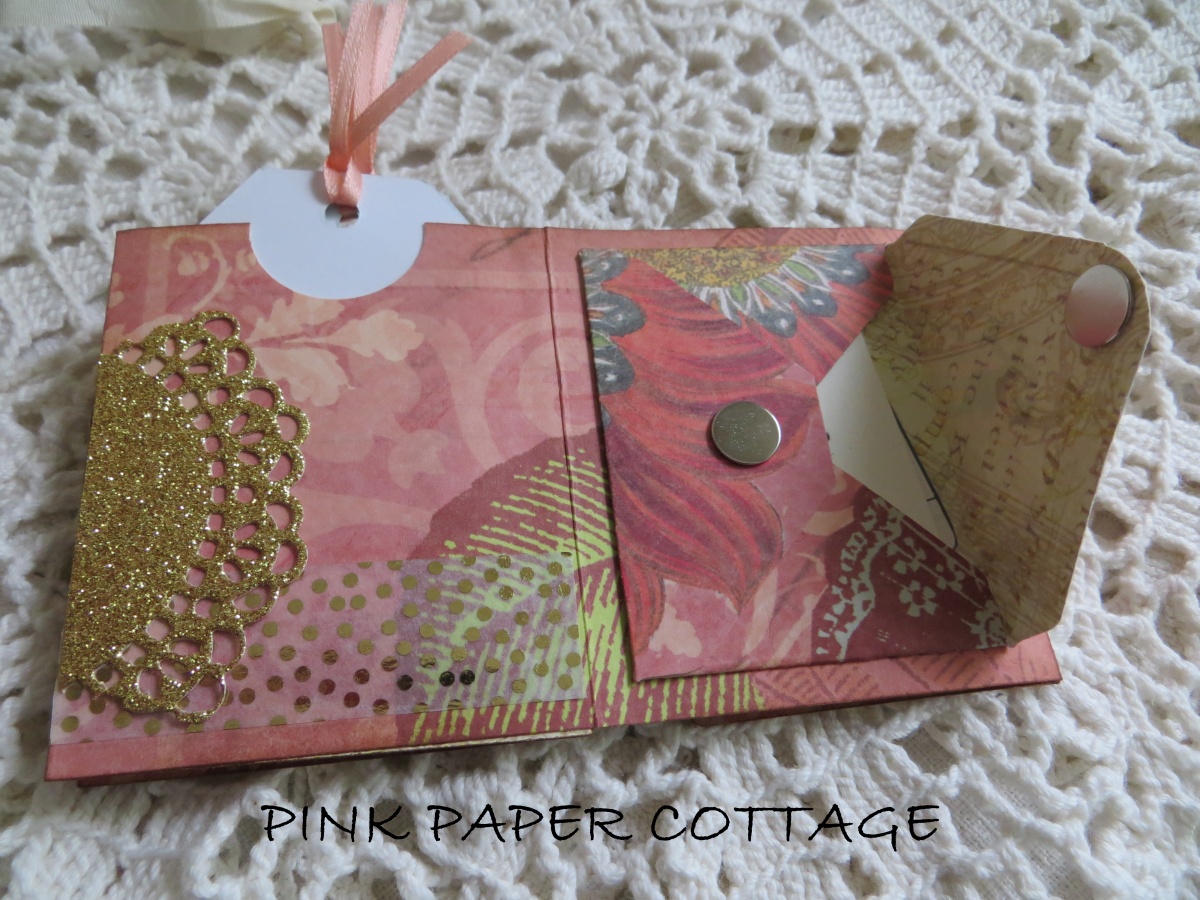
Tiny flipbook - to hold a note, some tags and a tea bag. This one is in my Etsy shop. I made two. Link is below.


Little vellum envelope holds the tea bag.

Another tiny flipbook... I love making these.


Origami heart.


3" x 4" flipbook. I love making these (as I've said before!).... they are little treasures.

Tiny photo album.

Moments in Time - flip album with lots of spots for photos and notes.


A "one page wonder" flip album... lots of pockets and tags and tiny envelopes. I made this last Fall but don't think I've shown it before.

Tiny books!  I bought the digital papers from a shop on Etsy. She has the covers and insides of the little books. So fun but very time consumming to make!


Heart shaped mini albums.


Altered paperclips - yes! this is a paperclip! to use in a journal, diary, Bible, or as a bookmark.

Packaged up and ready to sell. I sell them at a little gift shop here in town.
 I sell many of the items I make, or gift them to friends and family.


I love the vintage look.

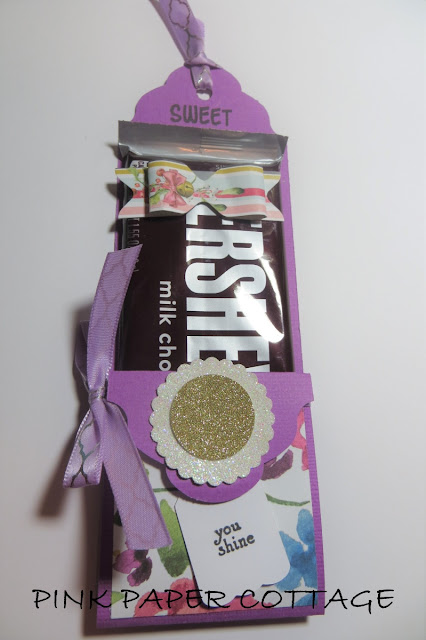
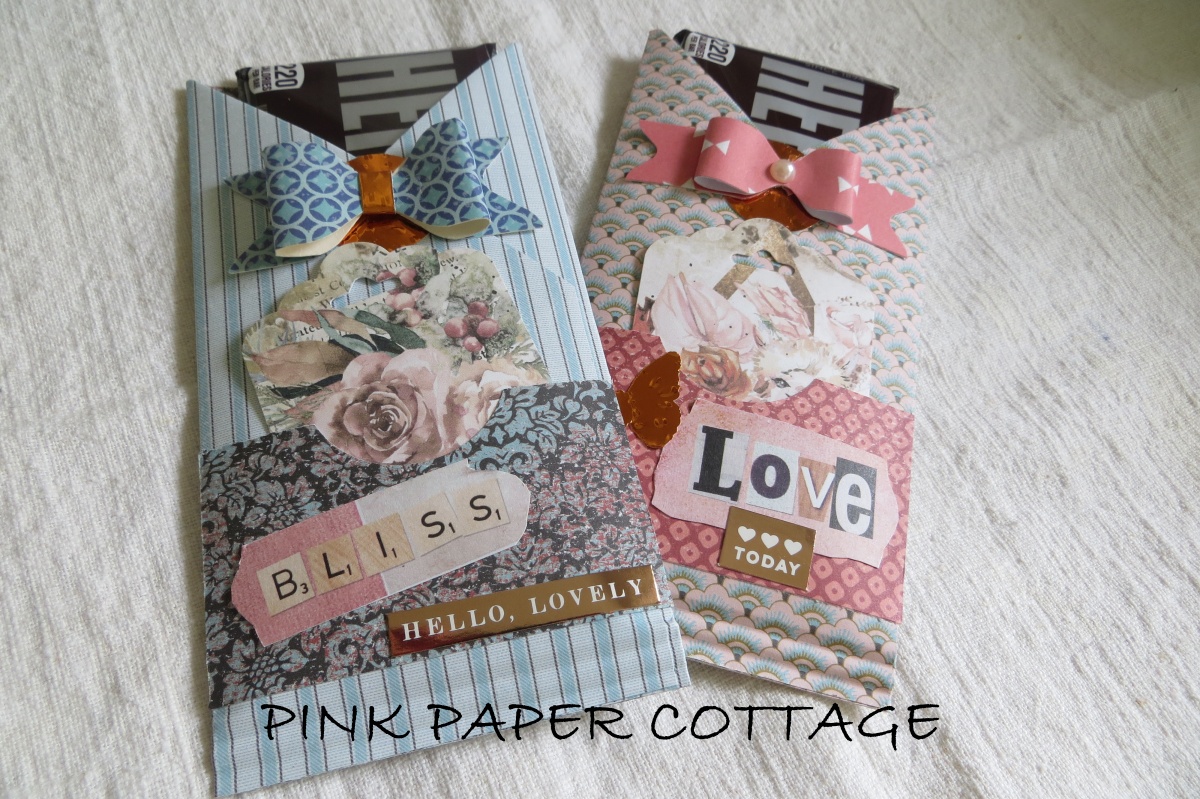
I continue to make my Hershey Bar pockets. They are fun to make and I love using all the different papers. This one is a bit different. It's not open at the top so you can't see the candy bar. I sell these at the shop here in town and they are very popular! but this one has not sold..... so have gone back to making the ones with the peek-a-boo at the top!

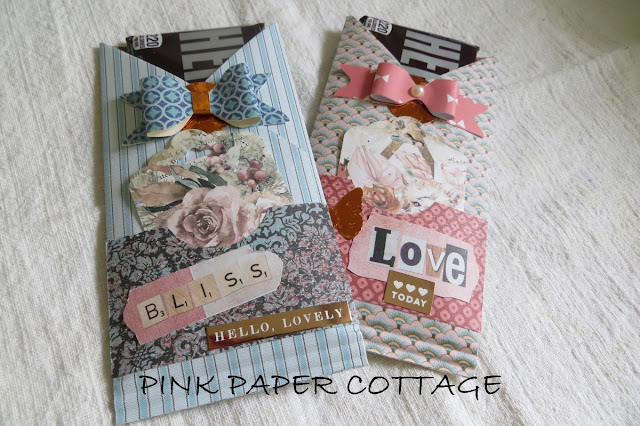
This is also a new style I made... just to see if they would sell. They did! 


This is the normal style I make..... they do sell like hotcakes!

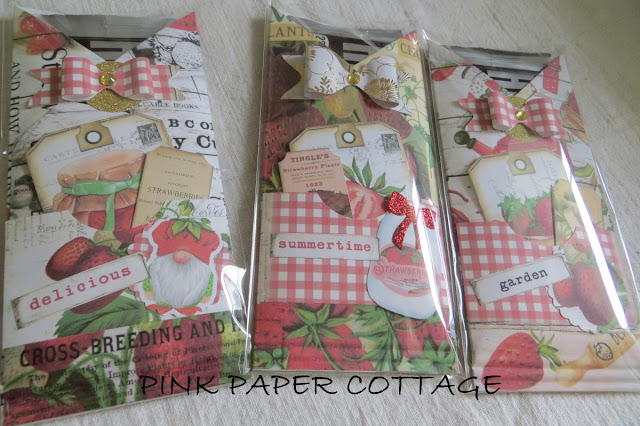
It's strawberry season! I just had to make some with strawberry themed papers. I purchased these from Etsy. How cute!! I'll be making more.


Teeny tiny tea packs. I made a bunch for the shop here.


And last but not least, I must ALWAYS make tea things......... drinking tea soothes my soul. I love these little triangle shaped tea pockets. Each one holds a little 3x3 inch card and room for a sweet tea bag. I made the vintage looking ones for my Etsy shop and they are there now. The packaged ones (last three) I've made for the shop here in town. Tea things sell very well.


These and various others are in my Etsy shop My Pink Paper Cottage


I wasn't chatty, but enjoyed sharing my photos and projects. If nothing else, the colors are all so pretty and springy!

Have a nice Memorial Day weekend everyone.

~Marilyn~


ALL CONTENT © PINK PAPER COTTAGE.
PLEASE DO NOT COPY MY PHOTOS AND IMAGES INTO YOUR OWN POSTS WITHOUT FIRST LINKING TO THIS BLOG AND MY NAME.

Thursday, August 25, 2016

Pretty paper purses.

Since I've spent the last two three weeks mostly sitting with my leg up due to a recent fall, I've had time to craft... and it's been fun to try a few new things.


I've wanted to make one of these darling paper purses for at least a year! I'd seen a similar one on a few YouTube videos, but the instructions were hard to follow, and honestly? they seemed like too much work! Then I saw a video on the YouTube channel May May Made It Crafts and she had a really easy-to-follow video. This uses one 12x12 sheet of paper, plus a little bit of a coordinating paper.  

You should go check out May May's channel.... I just love her... she's such a kick.... and I love her accent (she's from Alabama). I've watched her since she had maybe 100 subscribers, and now she has 65,000 plus subscribers! She designs her own stamp sets now and sells them on her website May May Made It, plus many other of her most favorite tools and supplies (and I'm not getting paid to promote her.. I just love her!).


This purple and black one is the first one I made, kind of a test run so to speak, so I didn't use really gorgeous papers...... so after I finished this one, the next day I just HAD to make another one using some really summery/fall papers (scroll down to see it).  This was so fun and easy to make. Some of the other YouTube gals have made this same design, using gorgeous shabby papers (which I love).. and used lace trim on it which I also love! 

I crocheted the little flower on it.... and I used a 1-1/2" strip of paper for the bottom trim and used one of my decorative edges paper punches to dress it up a little bit. The next one I made, I used lace for the trim. You know me and lace. We are best friends!
I used velcro dots for the closure, but you could also use magnets or tie it closed. The finished size is about 7" wide by 4-1/2" tall.

My next one had to be a little more "shabby" and be ready for Fall decorating.


Oh my! I'm smitten with these! I used some very old peach eyelet lace that I had in my stash (from the 1970's) and some pretty autumn colors scrapbook paper from DCWV Project Stacks DIY Mini Albums. I glued vintage gold buttons at the bottom of each handle, front and back.


Here's the back. Isn't the paper so pretty? And love my double bow using some Dollar Tree peach chevron ribbon. I found a great tutorial for making double bows by Jak Heath. You can find the YouTube video tutorial here. You don't need any sort of tool.... just use your fingers which is so neat.

I used a big old vintage button on the flap, and tied it shut with ribbon instead of velcro. I think I like the velcro better... is much easier to open and close.

My hubby suggested I use it for a table centerpiece, with autumn colored leaves or flowers... so I immediately had to run to the Dollar Tree and get some pretty fall leaves!  I love how it looks with the leaves inside, and right now, it's sitting on our fireplace mantle. Oh hubby can come up with a good idea now and then! (sh.sh.sh.sh.sh  don't tell him I said so). I thought of using this for a little gift "box".. not as a centerpiece! ... but I really like it to use as a decoration.  Now I can picture a Christmas purse with holly and berries, a Halloween purse with tiny pumpkins on sticks... and so on and so forth..... for centerpieces on my dining table, or decorations for my mantle.


These little "purses" would also make sweet little gift "bags" to hold little notecards, soaps, candles, candies or soft goods. I put some fabric "fat quarters" in this one and it held about six with ease.

And since I was on a roll with "boxes", which I LOVE making (don't ask me why)........... I found a tutorial on some cute little gift/favor boxes using the WRMK (We are Memory Keepers) envelope punch board.  Oh how fun these were to make! Quick and easy and so fun to decorate.

Such a cute little box.. a mere 2-1/2 x 3 inches but oh so sweet.
I made three just for the pure joy of making them!  Here's the YouTube video by Dee Slater if you would like to make one.


Use 6x6' double sided papers..... see the little flap on the side? that is the reverse side of the paper. This one has cute bicycles on it.


........ and I thought how cute they would look on that table centerpiece idea that hubby came up with!


I'll be back soon with more projects! I'm trying to take advantage of my "down" time, although my knee is a little bit better. I can actually put some weight on it now (hush.. don't tell hubby....he's still waiting on me "somewhat" )!!

   photo Blogsignature2smallersizeforblog_zps20ad3d10.png